Optimal Timing for Chipped Tub Repairs
Chipped tub repairs are most effective when performed during periods of low humidity and stable temperatures. These conditions help ensure proper adhesion and curing of repair materials, leading to a longer-lasting finish.
Spring and fall often provide ideal weather conditions for tub repairs, with moderate temperatures and lower humidity levels.
Perform repairs when ambient temperatures are between 60-80°F to facilitate proper curing of repair compounds.
Avoid repairs during high humidity or rainy days, as excess moisture can compromise adhesion and finish quality.
Schedule repairs during periods when the bathroom is less frequently used to allow adequate curing time without disturbance.
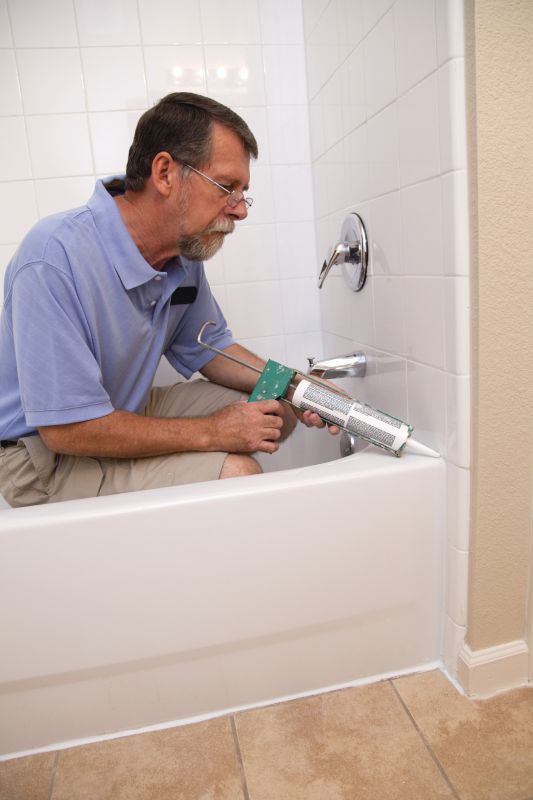
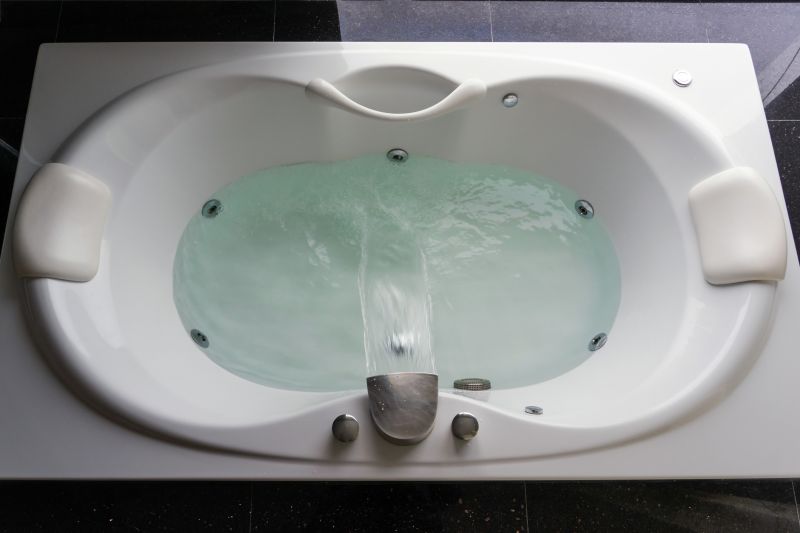
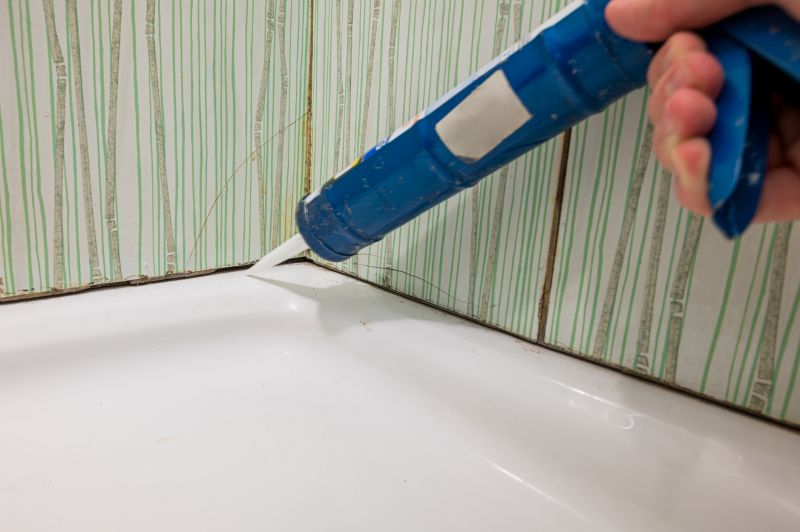
An image showing the preparation and filling of a chipped bathtub surface.
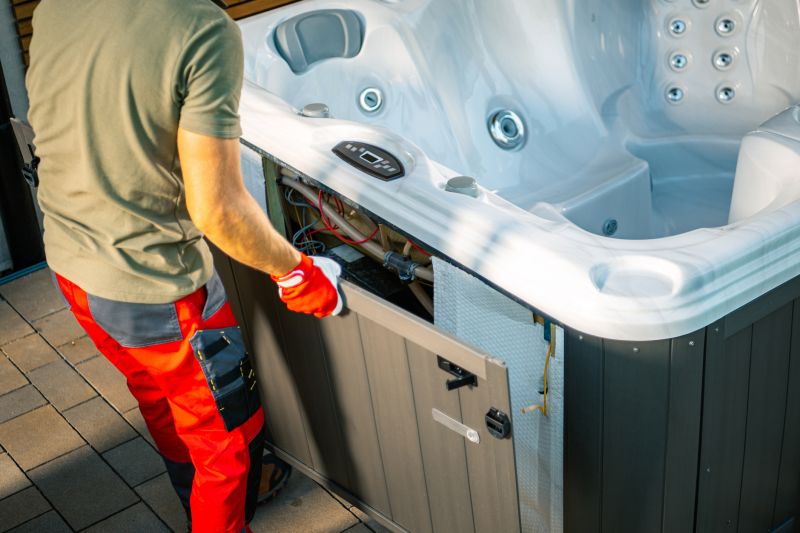
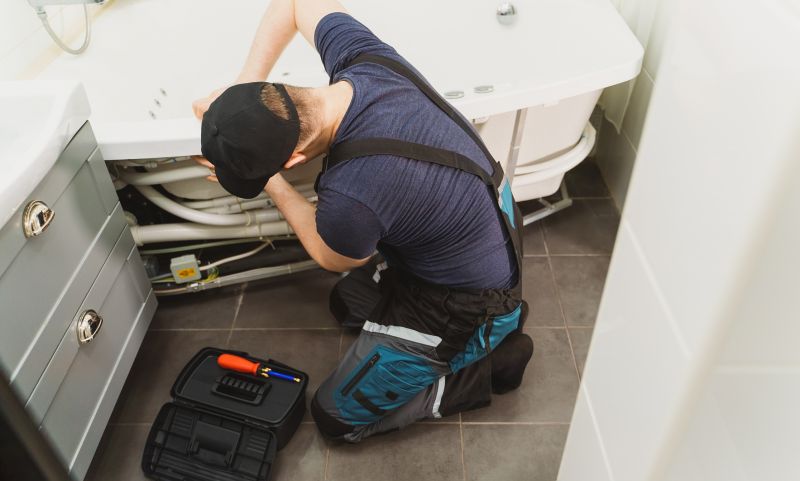
Tools used in professional tub repair, including spatulas and sanding equipment.

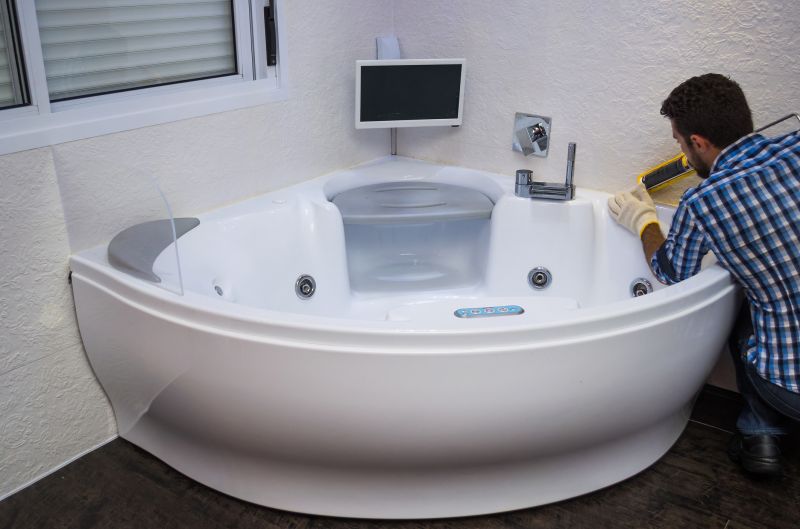
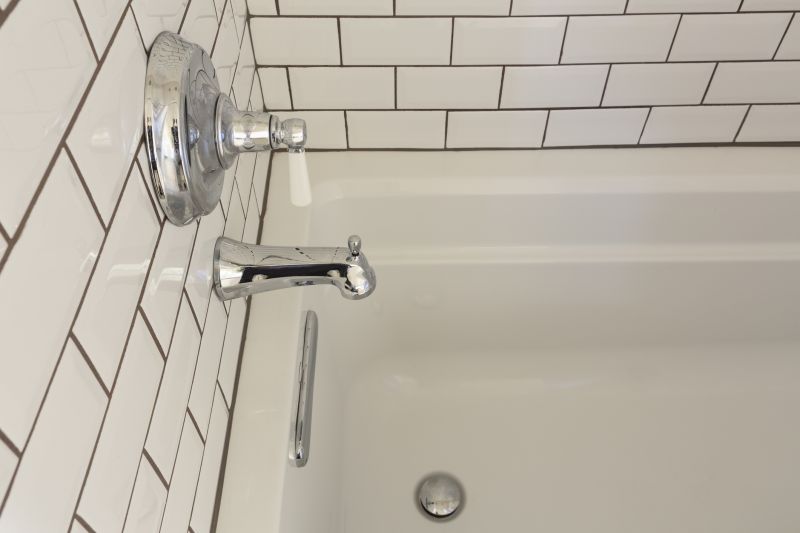
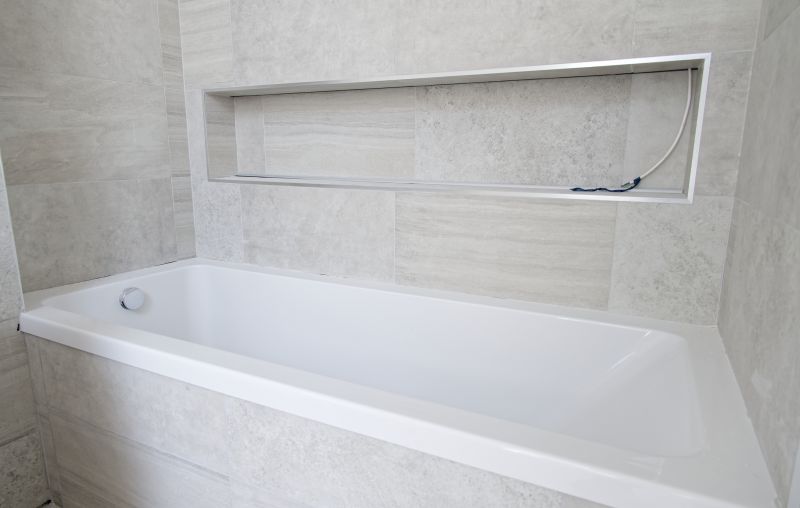
A restored bathtub surface after repair, demonstrating a seamless finish.
Ways to make Chipped Tub Repairs work in tight or awkward layouts.
Popular materials for Chipped Tub Repairs and why they hold up over time.
Simple add-ons that improve Chipped Tub Repairs without blowing the budget.
| Factor | Ideal Conditions |
|---|---|
| Temperature | 60-80°F |
| Humidity | Below 50% |
| Season | Spring or fall |
| Time of Day | Morning or late afternoon |
| Usage Restrictions | Minimal bathroom use during curing |
Chipped tub repairs involve filling and sealing chips or cracks to restore the tub's surface. Proper timing ensures the repair materials bond effectively, providing a durable and seamless finish. The process typically includes cleaning the damaged area, applying a specialized filler, sanding, and finishing with a protective coating. Statistics indicate that timely repairs can extend the lifespan of a bathtub by several years, saving costs on replacements and extensive refurbishments.
High-quality repair materials are designed to withstand daily use, but their longevity depends significantly on proper application and environmental conditions during curing. Repair success rates improve when performed under optimal weather conditions, reducing the risk of future damage. Regular inspections can help identify chips early, allowing for repairs at the most suitable times to maintain the tub’s appearance and functionality.
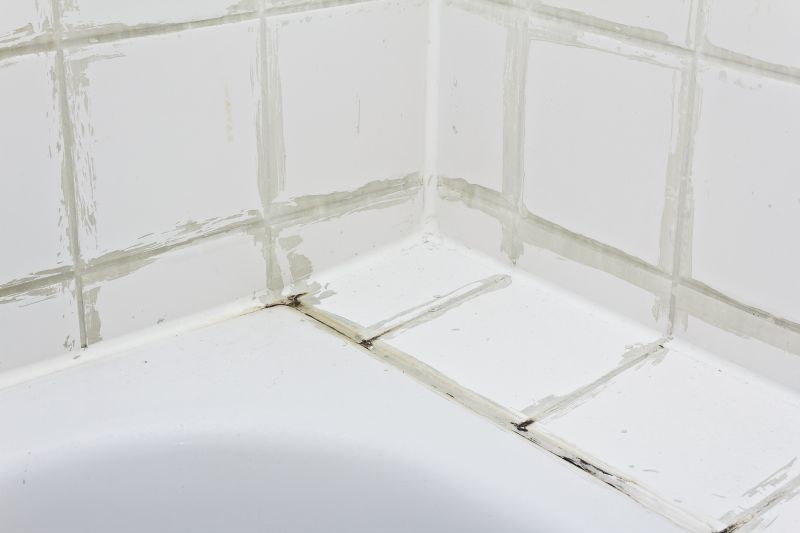
Close-up of a bathtub with visible chips and cracks.
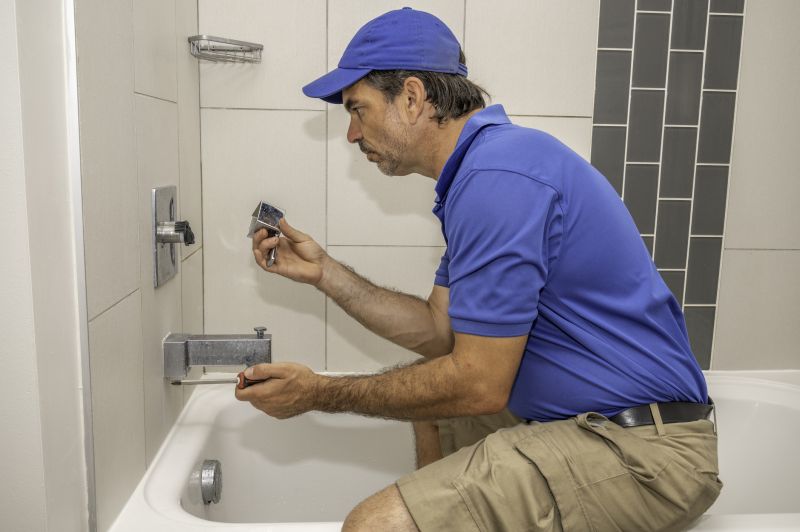
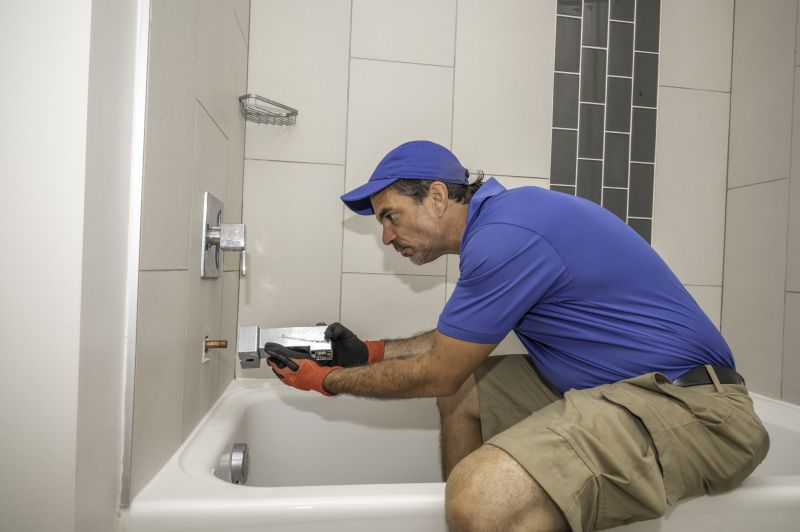
Applying filler to a chipped area of the bathtub.
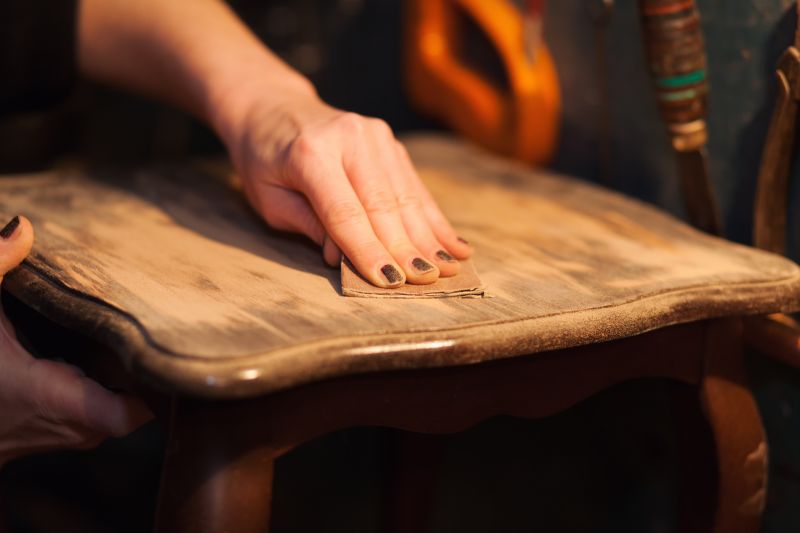
Sanding the repaired surface for smoothness.
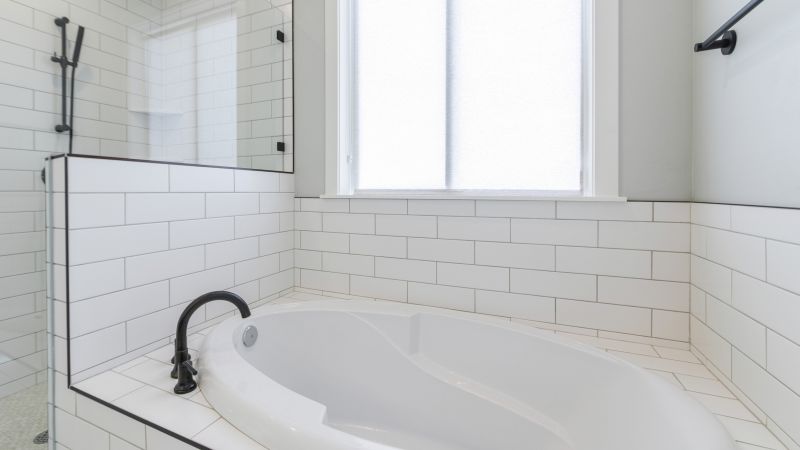
A smooth, repaired bathtub surface ready for use.
High-end options that actually feel worth it for Chipped Tub Repairs.
Finishes and colors that play nicely with Chipped Tub Repairs.
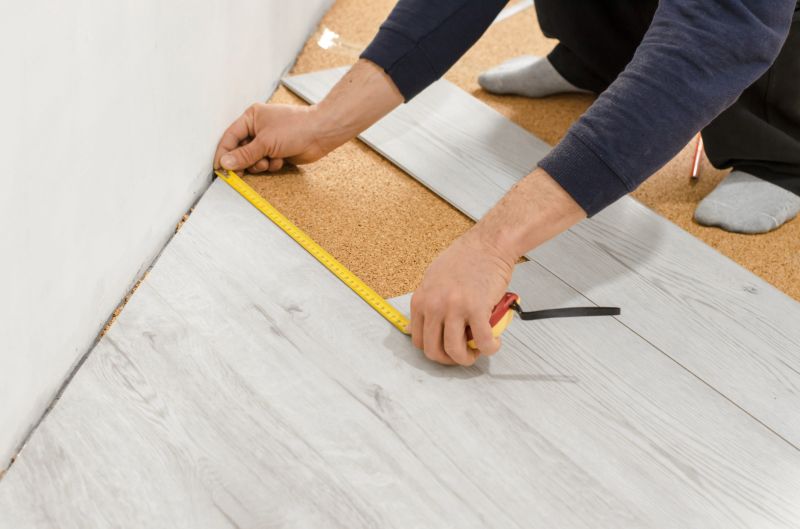
Little measurements that prevent headaches on Chipped Tub Repairs day.
A 60-second routine that keeps Chipped Tub Repairs looking new.
A frequent mistake in Chipped Tub Repairs and how to dodge it.
Small tweaks to make Chipped Tub Repairs safer and easier to use.
Lower-waste or water-saving choices for Chipped Tub Repairs.
The short, realistic tool list for quality Chipped Tub Repairs.
Interested in restoring a chipped bathtub? Filling out the contact form can provide more information on scheduling repairs during the optimal time for best results.